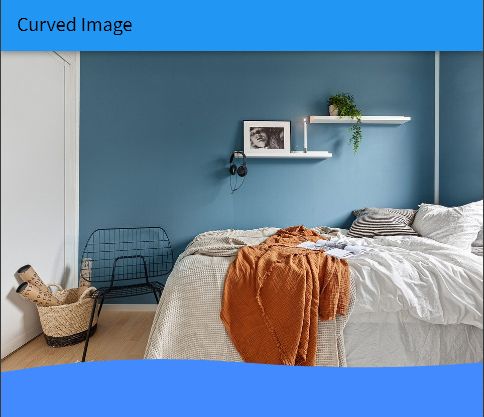
How to Create an Image with Bezier Curves in Flutter?
An image with bezier curves at the bottom is a common requirement in many applications. ClipPath class is used to create custom clipping in Flutter. In this tutorial, we’re going to learn how to create an image with Bezier curves in Flutter using ClipPath class.
import 'dart:ui';

import 'package:flutter/material.dart';

class ImagePage extends StatefulWidget {
  const ImagePage({Key? key}) : super(key: key);

  @override
  _ImagePageState createState() => _ImagePageState();
}

class _ImagePageState extends State<ImagePage> {
  @override
  void initState() {
    super.initState();
  }


  @override
  Widget build(BuildContext context) {
    return Scaffold(
        backgroundColor: Colors.blueAccent,
        appBar: AppBar(
          title: const Text('Curved Image'),
          backgroundColor: Colors.blue,
        ),
        body: SafeArea(
          child: ClipPath(
            child: Image.network('https://cdn.pixabay.com/photo/2022/04/14/13/36/bedroom-7132435_960_720.jpg'),
            clipper: BezierCurveClipper(),
          ),
        ));
  }
}
class BezierCurveClipper extends CustomClipper<Path> {
  @override
  Path getClip(Size size) {
    var waveHeight = 10;
    Path path = new Path();
    final lowPoint = size.height - waveHeight;
    final highPoint = size.height - waveHeight*2;
    path.lineTo(0, size.height);
    path.quadraticBezierTo(
        size.width / 4, highPoint, size.width / 2, lowPoint);
    path.quadraticBezierTo(
        3 / 4 * size.width, size.height, size.width, lowPoint);
    path.lineTo(size.width, 0);

    return path;
  }

  @override
  bool shouldReclip(CustomClipper<Path> oldClipper) => false;
}